

CPI with ImaCash: Paypod, uAPI and PayLink
Before setup
- CPI stands for Crane Payment Innovations. Paypod is a pay station; PayLink is a USB integration module. These names are not interchangeable and do not share the same configuration fields.
- For CPI_uAPI, the provider must install and prepare CPI Payment Service, enable HTTPS access and confirm the private address, port and service account. The ImaCash PC must reach this service over an authorised private network.
- Confirm the station, note and coin modules, firmware, currency and available functions. A standalone CPI component or a Paypod photograph does not demonstrate a system prepared for ImaCash.
A connection alone does not validate payments, refunds, inventory or physical emptying. Validate the required functions with the provider before commercial use. This guide covers cash; card payments and self-service orders need their specific integration.
Set up CPI_uAPI in ImaCash
- From Main, open Configuration with an authorised user. Go to Machine and choose CPI_uAPI when no operations are in progress.
- Enter the private address of the computer running CPI Payment Service in IP. Use the address supplied for this installation.
- In Port, enter the confirmed HTTPS port for the service. IP and Port have separate fields.
- Enter the authorised private credentials for CPI Payment Service in Password and User. Ask your administrator for the details for this installation.
- In Currency, choose the currency confirmed for both the device and the service. The list shows the software options. Check compatibility with the device separately.
- Select X. If Unsaved changes appears, choose Save to apply the settings in stages. When the profile changes, ImaCash checks HTTPS access with that account and requests the device list. If the service is installed on the same computer and stopped, ImaCash may try to start it.
For a connection or certificate warning, check IP, Port and HTTPS settings with your administrator. If access is rejected, confirm that the account and password are authorised for that service. Reopen the profile to check the saved values and confirm the expected devices with the supplier. A successful service check does not verify a payment.
Continue editing returns to the form. Exit without saving discards pending changes. Settings already saved in earlier stages are kept. After a successful save, restarting is offered separately.
Demonstration with the four private fields blank. The video shows the form and closing options as separately prepared demonstration states.


Video steps and text alternative
- Open Configuration from Main.
- Under Machine, select CPI_uAPI.
- Check IP, Port and the credentials.
- Check the installation currency.
- Select X to review pending changes.
- Choose Save, exit or continue editing.
CPI CCR with USB CR50 inside Julia
This combination uses Julia as the ImaCash machine: CR50 keeps the GRG USB driver and Dunite, while CCR uses CPI Payment Service over HTTPS. It requires .NET Framework 4.7.2 or later and a dedicated CPI service managing only the CCR, with no SCR, BNR or other cash components, even disconnected ones.
In Configuration → Machine select Julia and open its components. Keep CR50 with USB connection and add CCR with HTTPS connection. Open the CCR gear button to prepare its settings; keep Julia selected for this combination.
The CPI administrator supplies the full HTTPS URL with port and trailing slash, CCR configuration ID, user, password, OAuth Client ID and Client Secret. The device ID is not its serial number. Enter private details only in ImaCash, never in the URL.
Use an HTTPS certificate that Windows can verify. Leave TLS SHA-256 empty in that case; if the technician authorizes a private certificate, enter only its complete verified fingerprint. Keep security enabled and never automatically accept an unknown certificate.
Test only checks connection and inventory. Save CCR details and then the Julia components using the Windows user who runs ImaCash. The Information window explains the full setup. The supplier must check both components before a supervised test.
The component is available in beta and requires validation of the physical combination, firmware and currency with the supplier. Julia coordinates acceptance, change, refunds and withdrawals; coins enabled in CPI must match their Julia selection. Configure CCR maintenance and physical limits with the official CPI tools.
Set up PayLink in ImaCash
Ask your provider to set up the PayLink USB module, its drivers and the communication software on the PC. Confirm the installed peripherals and finish any active operations before changing the profile.
- From the main screen, open Configuration with an authorised account. Sign in if ImaCash asks you to. Open Machine and select PayLink.
- Currency is fixed to EUR. This profile hides the connection fields. Ask the provider to set up the USB connection and keep any CPI_uAPI details in the corresponding profile.
- Close with X and choose Save if you want to apply the pending changes. When the profile is applied, ImaCash tries to initialise PayLink. Initialisation can apply settings to the modules and update the session inventory.
If initialisation fails, check the module, drivers and communication software with the provider before trying again. After saving, reopen Machine and check that PayLink and EUR are shown. Initialisation alone does not confirm cash acceptance or dispensing.
Continue editing returns to the form. Exit without saving discards pending changes and keeps any stages already saved.
ImaCash demonstration. The video shows the Spanish interface with captions. Controls are highlighted without connecting to the module or saving.


Video and steps for setting up PayLink
- Open Configuration from the main screen as an authorised user.
- Open Machine and select PayLink.
- The provider sets up the USB connection. This profile hides the connection fields.
- Check that Currency shows EUR and is locked.
- Close with X to see the options when there are changes.
- Save, continue editing or discard the pending changes.
Paypod catalogue reference
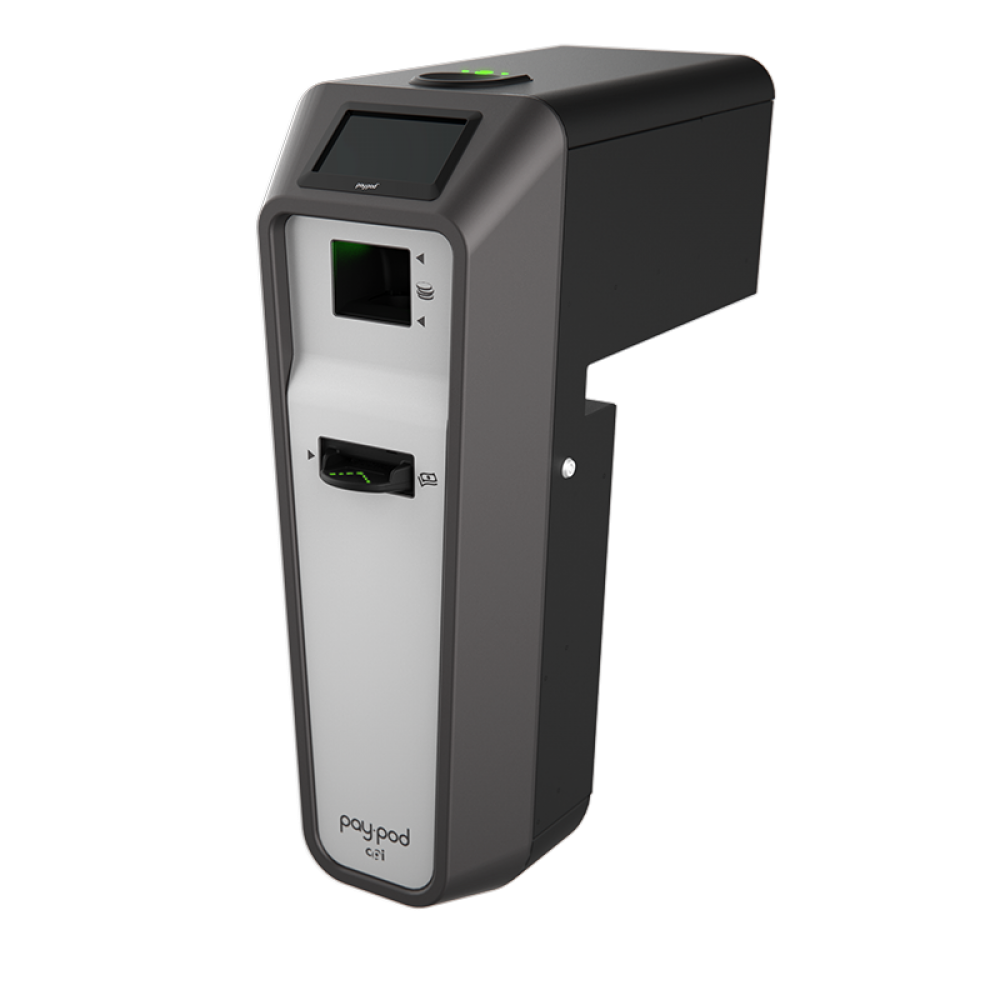
Paypod
The photograph shows the Paypod range. Confirm the variant, components and interface with the provider; it does not depict a PayLink module or demonstrate physical compatibility of all Paypod stations with ImaCash.