

VNE with ImaCash: connection and setup
Before setup
- The provider must enable the VNE integration service and confirm the model, firmware, port, transport and access path. An accessible Web Tool does not prove that the API is ready.
- The ImaCash PC must reach the device over an authorised private network. The address and any Web Tool credentials are private values supplied by the administrator; do not expose the machine to the Internet.
- Confirm the currency, denominations and operations enabled for the installation. The manufacturer’s catalogue does not demonstrate physical compatibility of every model or variant with ImaCash.
A connection alone does not validate payments, refunds, change, inventory or emptying. Confirm each function with the provider and carry out supervised validation before commercial use; do not infer card or self-service functions from photographs.
Steps in ImaCash
- From the main screen, open Configuration (Config) with the required permission and identify yourself if prompted. Go to Machine and select VNE.
- Enter the private device address in IP. Use the separate fields for the port and path.
- Set SSL to match the service before filling in Port. Toggling SSL replaces the port in the form with the suggested port for the selected protocol.
- On a new profile, ImaCash proposes SSL enabled and port 443. Opening an existing configuration keeps its saved port. Enter the numeric port confirmed by the supplier.
- In Entrypoint, enter the API path agreed with your supplier. Review the address, port and SSL together in the form.
- Under Currency, select the working currency agreed with the supplier.
- Open Web Tool uses the address, port and SSL setting in the form and opens the tool path in a browser. The tool has its own sign-in. ImaCash shows a warning if the address is missing. Opening it does not save the ImaCash profile.
- Select X when changes are pending. Save applies the settings in stages. When the profile or its settings changed, the machine stage may check communications. Continue editing returns to the form. Exit without saving discards pending changes.
Reopen Configuration and check the saved profile. If communication fails, check the private network and the four service settings with your supplier. Review any already saved stages separately.


VNE configuration walkthrough
The video shows isolated native Windows forms in Spanish, with captions and a text alternative. Private fields are empty. The pointer highlights the controls.
- On the main screen, locate Configuration with access permission.
- Go to Machine and select VNE.
- Locate IP and enter the private address agreed with your supplier.
- Set SSL and check the port suggested by ImaCash.
- Enter the API entry point and check the currency.
- Find Open Web Tool. The tool opens separately and has its own sign-in.
- Close Configuration with X when you have checked the fields.
- Choose Save, Continue editing or Exit without saving.
View the official VNE catalogue
VNE catalogue references
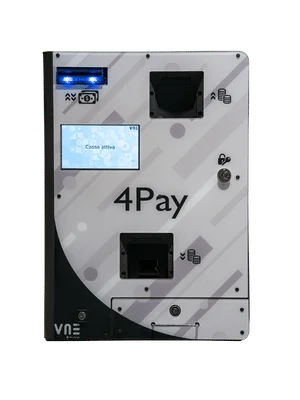
4Pay
4Pay reference retained in the catalogue. Confirm the version, integration service and configuration before choosing it for an installation.
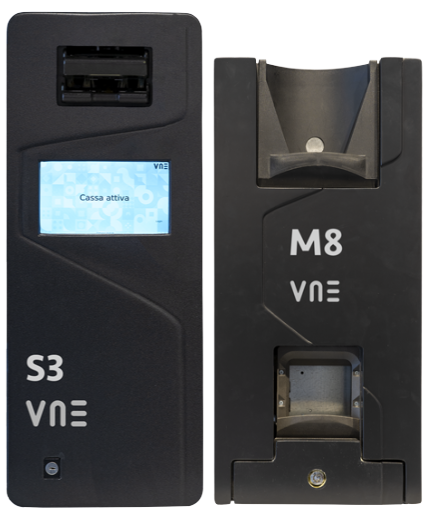
VNE modular assembly
Photograph of the modular assembly historically labelled AutomaticCashV3. This catalogue label alone does not identify a current commercial model; confirm the modules and their interface with VNE.
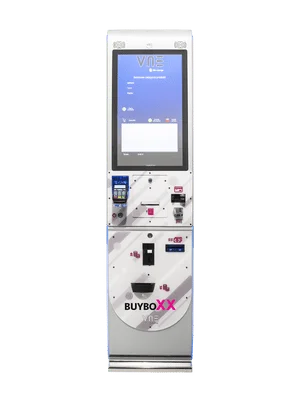
Buyboxx
Manufacturer’s Buyboxx self-service reference. The photograph does not demonstrate order or card payment integration from ImaCash; confirm the scope of the cash module.
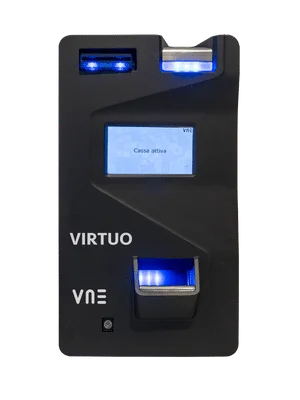
Virtuo 2
Virtuo 2 reference retained in the catalogue. Confirm the specific device and its API before configuring ImaCash.